Web Design • The Steps
TLDR;
- Low Fidelity Wireframing/Sketching
- High Fidelity Wireframing
- Interactive component design
- Designing the mockups
- Prototyping
The steps
Low Fidelity Wireframing/ Sketching
This is the best way to put your ideas onto paper and get a proper direction to proceed further. In this, we create a rough sketch of the design, showing the main sections.
We use traditional tools like pen & paper, and online sketching tools. We love working with Miro
What are your wishes? Talk to our Client Idea Sheet.
the proven way for a good quote. You can save it as a brief for your own use.
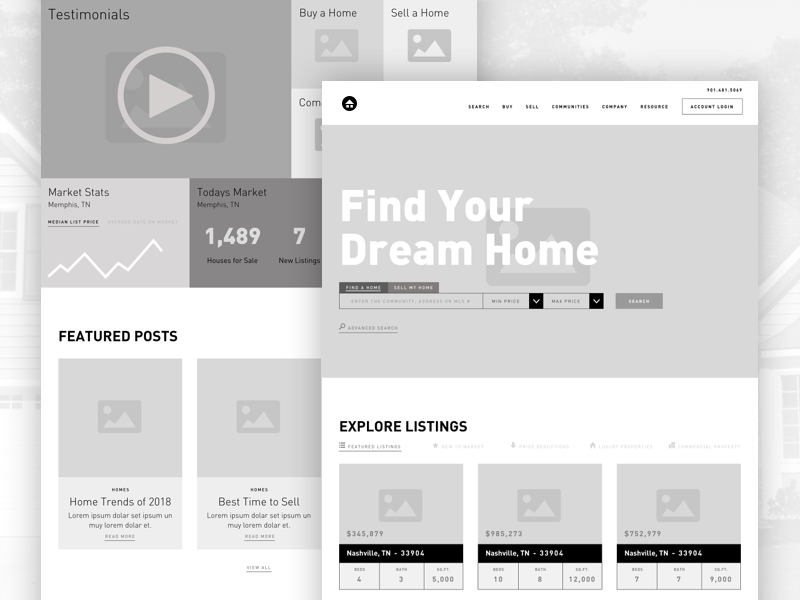
High Fidelity Wireframing
The layout just before doing the visual design is called High Fidelity wireframe. Generally done in greyscale. It helps in visualizing the design layout and to gain much more clarity on the idea behind the designs. Common tools used are Figma, Miro, etc. For High Fidelity Wireframe example, see this image:
Interactive Component design
Here, you design different components and their different states. For example, a button with three states: default, hover, clicked. For example, see this image

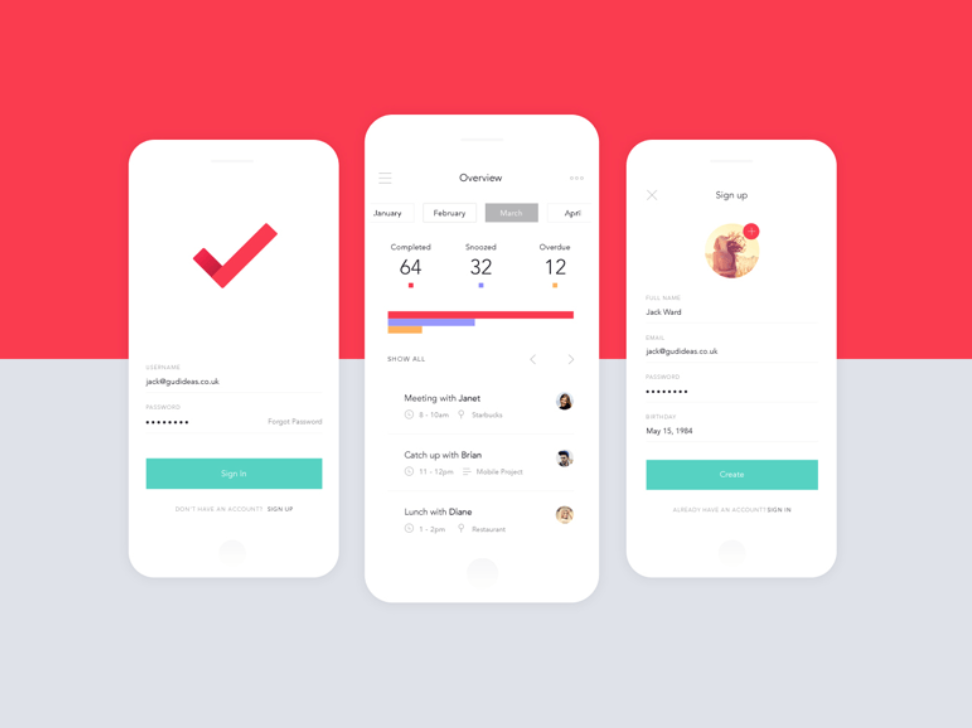
Designing the mockups
Designing the mockups This is the part where you can display your creativity. But, don’t forget to make it usable and accessible. Mockups are the final designed screens that are ready to be prototyped. Common tools used are Figma, Adobe XD, Sketch. For Mockups Example, see this image
Prototyping Prototypes
Bring together the visuals and make them interactive in the UI design. we usually work with Miro. Figma offers an animated feature. It will help you out a lot. See this image:
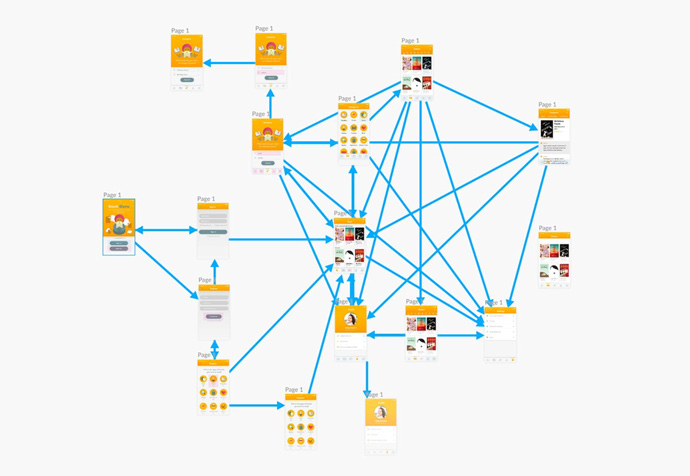
Image source: google